


⚡ TL;DR: This guide shares pro insights on roof installation in Anaheim, addressing climate challenges, material choices, site prep, installation steps, pitfalls, and real-world fixes.
📋 What You’ll Learn
In Anaheim's ultimate roof installation guide, you'll uncover pro secrets for battling local climate extremes, selecting durable materials, mastering prep and installation, and dodging pitfalls for roofs that last.
- Overcome Anaheim's climate hurdles by learning why standard roofs fail under brutal sun, heat waves, and rare storms, plus pro strategies for superior weather resistance.
- Select top materials for SoCal durability with expert picks on shingles, underlayment, and vents tailored to UV rays, thermal shifts, and occasional heavy rains.
- Perfect pre-installation site prep using insider checks for structural integrity, debris clearance, and permits to guarantee a flawless base for long-term roof performance.
- Execute pro-level installation steps from precise flashing to ridge work, while sidestepping leaks, wind uplift, and errors seen in local case studies.
📖 Reading time: 7 min
✍️ Author expertise: Anaheim roofing contractor with 18 years of field experience on local installs and repairs.
Ever wake up to a puddle on your bedroom floor after a freak Anaheim downpour, staring at water stains creeping across the ceiling?
That's the nightmare thousands of homeowners face when their roofs give out under our scorching sun and surprise rains. But here's the kicker: pros in Anaheim install roofs that laugh at that punishment.
They've got tricks your average contractor won't spill. Ready to arm yourself with those same secrets?
Anaheim's Climate Challenges: Why Standard Roofs Fail Here
Anaheim packs a punch with its weather. Think blazing summers topping 100 degrees, relentless UV rays, and those rare but brutal winter storms dumping inches of rain overnight.
Standard roofs? They crack under the heat. Asphalt shingles warp, tiles shatter from thermal expansion, and flat roofs pond water that seeps right through.
Key Weather Killers Pros Watch For
- UV degradation: Sun bakes colors off in months, weakening the surface fast.
- Heat cycling: Daytime scorch to cool nights makes materials expand and contract, leading to splits.
- Flash floods: Orange County's sudden downpours overwhelm poor drainage, turning roofs into sieves.
Homeowners see it first as faded spots, then leaks. Pros spot these failures coming because they've fixed hundreds in Anaheim's unforgiving conditions.
Choosing the Right Materials: Pro Picks for Sun, Heat, and Rain
Anaheim's sun beats down like a hammer. Regular asphalt shingles? They crack, fade, and turn brittle fast. Pros skip those for cool-roof asphalt with reflective granules that bounce back 30% more heat.
Top Material Picks That Crush Local Weather
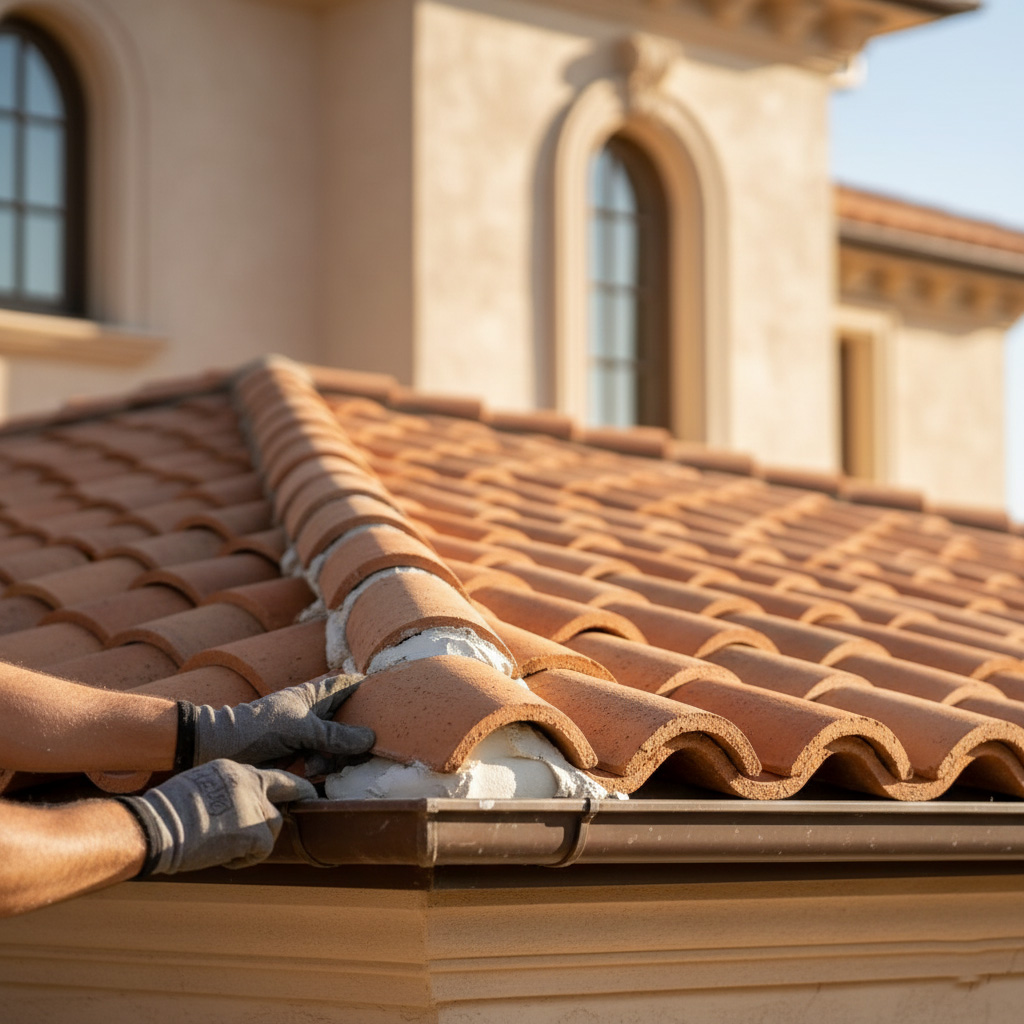
- Clay or concrete tile: Built for our endless sun. Won't warp in 110-degree scorchers and sheds rare heavy rains like water off a duck.
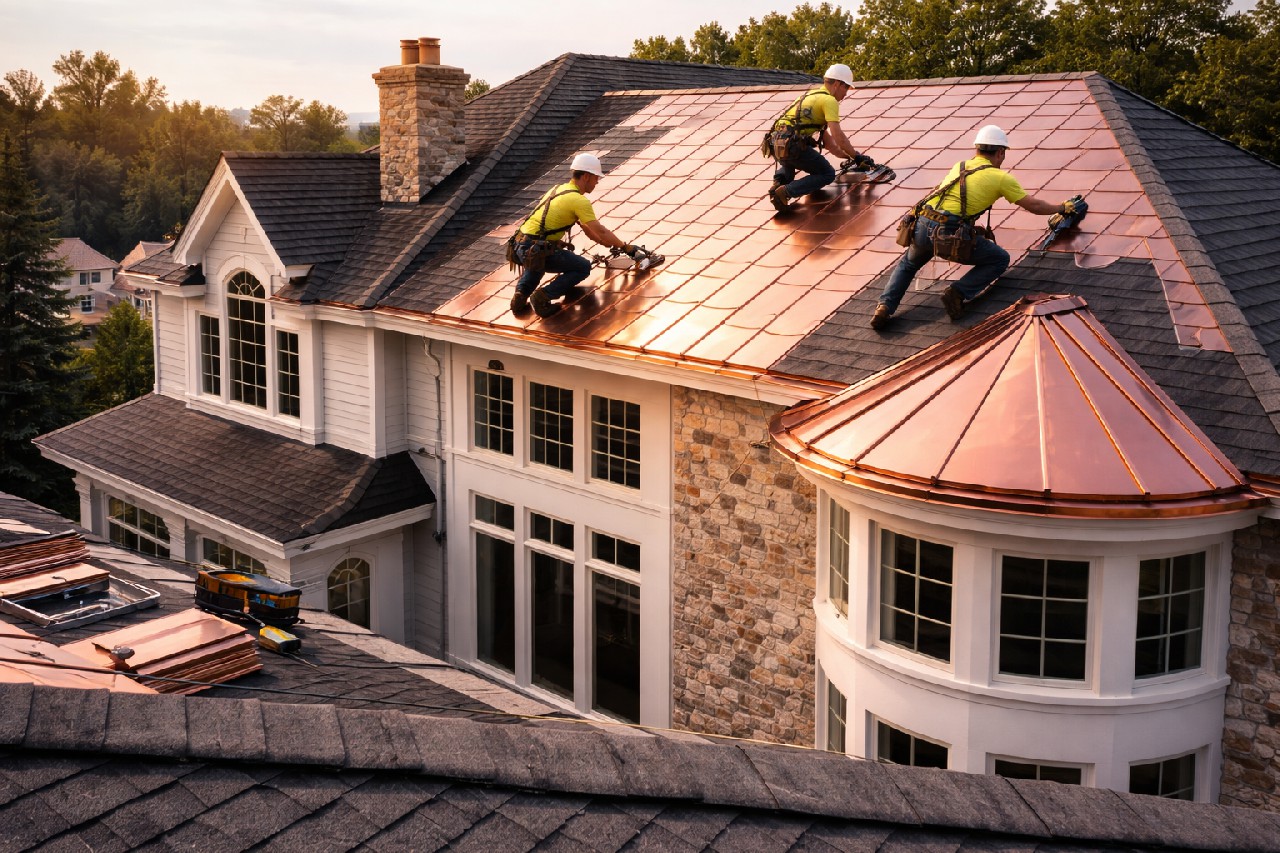
- Standing seam metal: Reflects UV rays, lasts 50+ years. Perfect when Santa Ana winds howl.
- Synthetic composites: Lighter than tile, tougher than asphalt. Fire-resistant too, since wildfires lurk nearby.
Forget one-size-fits-all. Match your pitch and budget. Tile shines on steeper roofs; metal rules flat ones. Pros test for impact resistance against hail—because Anaheim surprises hit hard.
Pick wrong? Expect leaks by year five. Nail this, and your roof outlasts the house.
Pre-Installation Essentials: Site Prep Secrets from the Pros
Before a single shingle goes up, pros in Anaheim zero in on the site. Skip this, and your new roof cracks under heat expansion or leaks from hidden rot. They treat prep like the foundation of a championship defense.
Inspect Like a Hawk
Start with a full structural scan. Check rafters for warping from years of brutal sun. Probe for soft spots signaling water damage under the old decking.- Clear gutters and valleys of debris buildup.
- Measure pitch and span for material match.
- Verify attic ventilation blocks trapped heat.
Next, yank off the old roof clean. No half-measures. Pros use pneumatic tools to strip fast, then sweep magnetic nails that rust and puncture later.
Seal cracks in the decking with pro-grade tape. Test for level across every inch. This stops future shifts from our quake-prone ground.
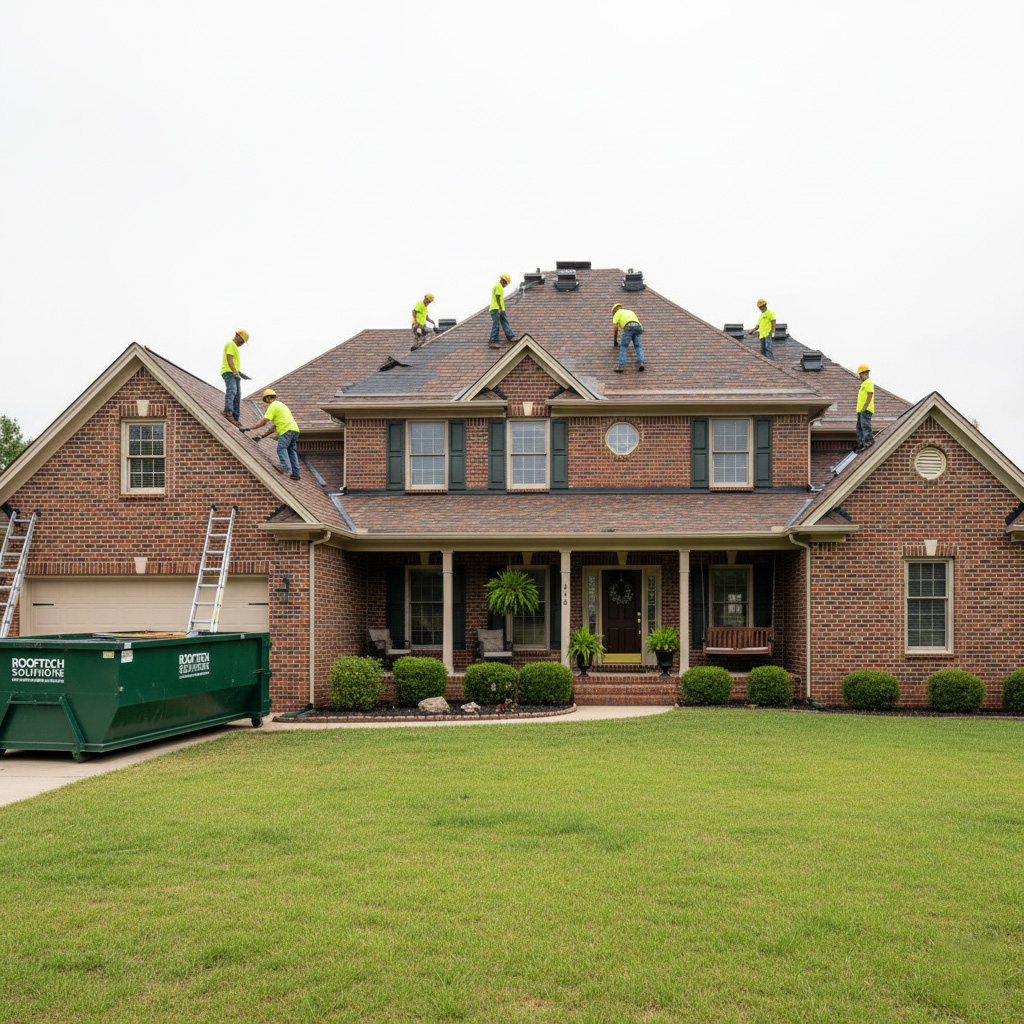
The Step-by-Step Installation Process Pros Swear By
Pros don't rush this. They follow a tight sequence that locks out leaks and boosts longevity. Skip a beat, and you're back to patching puddles.
First, they strip the old roof clean. No half-measures. Every shingle, underlayment, and nail comes off to expose the decking.
Key Steps That Make It Bulletproof
- Inspect and repair decking: Check for rot or soft spots. Replace any damaged plywood right away. A solid base handles Anaheim's wild swings.
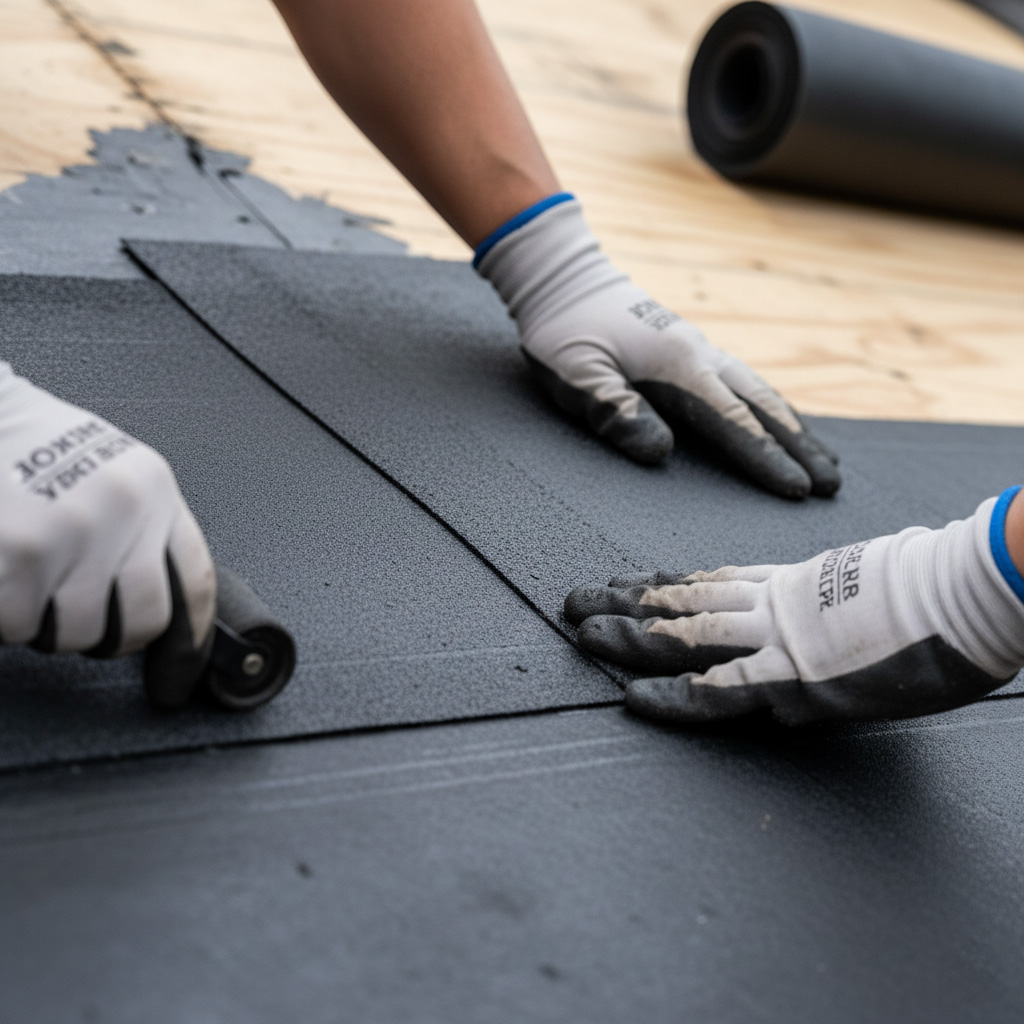
- Roll out ice and water shield: Slap it on eaves, valleys, and penetrations. This baby seals out those rare but brutal rains.
- Install drip edge and underlayment: Metal drip edge first along edges. Then synthetic underlayment everywhere else for breathability against the heat.
- Lay starter strip and shingles: Offset rows precisely. Nail high for wind resistance. Pros use six nails per shingle here, not the cheap four.
- Finish with ridge vents and caps: Boost airflow to fight attic heat. Seal caps tight to stop wind-driven rain.
Flash every chimney, vent, and skylight like your home depends on it. Because it does. This methodical grind turns a good roof into an Anaheim tank.
Common Pitfalls and How Pros Avoid Them
Most roof jobs flop because crews skip the basics. Think flashing failures around chimneys or vents. Water sneaks in during those rare Anaheim gully washers, rotting your deck from the inside.
Pros fix this with a simple ritual: triple-check every penetration before shingles go down. They use premium metal flashing, bent just right, and seal it with high-heat butyl tape. No shortcuts.
Ventilation Screw-Ups That Bake Your Attic
Anaheim's brutal sun turns attics into ovens without proper airflow. Shoddy installs cram in too few ridge or soffit vents. Result? Mold, warped rafters, skyrocketing AC bills.
- Pros calculate exact vent square footage based on your roof size. Follows strict code.
- They install continuous ridge vents for nonstop circulation.
- Bonus: Add a powered attic fan if your home's a heat trap.
Another killer: skimping on underlayment. Cheap felt tears under our UV assault, letting leaks through. Pros layer on synthetic ice-and-water shields everywhere critical. Keeps your roof bombproof for decades.
Case Study: Reviving a Storm-Damaged Anaheim Roof
Picture this: Mike, a longtime Anaheim resident, watched a brutal winter storm rip shingles off his 15-year-old roof. Water poured in. His attic turned into a swamp, and mold started creeping up the walls.
The Mess We Uncovered
Our crew arrived fast. Underneath the shredded asphalt, we found rotted decking and poor ventilation trapping heat like a sauna.
- Leaky flashing around the chimney let rain sneak through.
- Undersized gutters overflowed, pounding the eaves.
- Weak spots from years of sun baked the wood brittle.
How We Turned It Around
We stripped it clean. Installed new OSB plywood decking, then laid down impact-resistant Class 4 shingles built for Anaheim's wild weather swings.
Added ridge vents for killer airflow. Beefed up the gutters with seamless aluminum. Total time: three days flat.
Mike's roof now shrugs off 110-degree days and gullywasher rains. No leaks. Energy bills dropped 20%. He's sleeping sound again.
Final Thoughts
Your roof isn't just overhead protection. It's your first line of defense against Anaheim's brutal sun and sudden storms. Skimp here, and you're inviting disaster.
Pros nail it every time by sticking to top materials, flawless prep, and zero shortcuts. Don't gamble with amateurs. Grab the edge with techniques that last decades.
- Assess your roof now: leaks? Cracks? Heat damage?
- Pick materials built for our climate, like impact-resistant tiles.
- Call in certified installers who know Anaheim inside out.
Ready for a roof that shrugs off whatever Mother Nature throws? Dive deeper into our Roof Installation services and lock in a free inspection today. Your home deserves the pro treatment.
People Also Ask
How much does professional roof installation cost in Anaheim, CA?
Roof installation costs in Anaheim typically range from $8,000 to $25,000, depending on roof size, materials, and complexity, with asphalt shingles being more affordable and tile roofs costing more due to local climate demands.
Pros recommend getting multiple quotes from licensed local contractors to factor in Anaheim's specific permitting fees and labor rates, ensuring value over the lowest price.
Average tear-off and disposal add $1,000-$3,000, but investing in quality materials extends lifespan and saves on future repairs.
What is the best roofing material for Anaheim's hot climate?
Clay or concrete tiles are top pro picks for Anaheim, offering superior heat resistance, longevity up to 50+ years, and excellent durability against intense sun and occasional rains.
High-quality asphalt shingles with reflective granules work well for budgets, but pros avoid standard materials that fade or crack under UV exposure.
Always choose materials meeting California's stringent fire ratings for optimal performance in this sunny, arid region.
How long does a full roof installation take in Anaheim?
A standard single-story roof installation in Anaheim takes 1-3 days for pros, depending on size, pitch, and weather, with tear-off adding extra time on older homes.
Complex jobs like tile roofs or multi-story structures may extend to 5-7 days, including site prep and inspections required by local codes.
Experienced crews minimize downtime by staging materials efficiently and working in optimal morning hours to beat the heat.
Do I need a permit for roof replacement in Anaheim?
Yes, Anaheim requires building permits for all roof installations or replacements to ensure code compliance, especially for structural changes or new materials.
Pros handle the permit process through the city's Planning and Building Department, submitting plans that account for wind, seismic, and fire standards unique to Orange County.
Skipping permits risks fines up to $5,000 and insurance issues, so trust licensed installers familiar with local regulations.
How do I prepare my home for roof installation in Anaheim?
Clear the area around your home of patio furniture, plants, and vehicles, and trim overhanging trees to provide pros unobstructed access.
Secure indoor valuables under skylights or vents, and notify neighbors to avoid noise complaints during the 1-3 day process.
Pros conduct a thorough site inspection beforehand to address any underlying issues like rot or poor ventilation, preventing future leaks.
Anaheim Roofing delivers expert roofing services to the Anaheim, CA community. With years of hands-on experience, the team handles installations, repairs, and maintenance for residential and commercial properties. Deeply rooted in the local area, they address the specific needs of Anaheim homeowners and businesses.
Need Roofing?
Fast roof repairs and replacements in Anaheim, CA and nearby areas (92801, 92802, 92804, 92805, 92806) deliver lasting weather protection.
Get Roofing Quote